
Drawing is a timeless art form enjoyed by people of all ages. It can be a relaxing hobby or a professional pursuit.
Artistic expression through drawing dates back to ancient times. Sketches and doodles not only capture beauty but also emotions and ideas. Whether you are a beginner or an experienced artist, drawing offers endless possibilities. You can explore different styles, techniques, and materials.
Plus, it’s an excellent way to improve focus and creativity. This blog will delve into the fascinating world of drawing, offering insights and tips to inspire your artistic journey. Get ready to unlock your potential and see the world through an artist’s eyes.
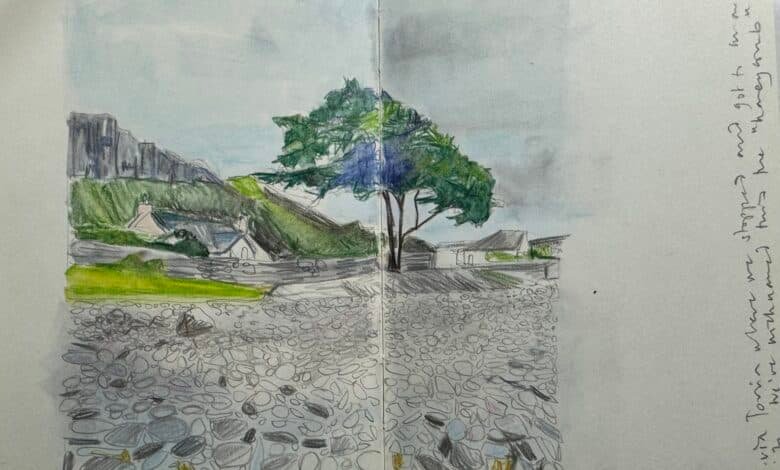
Credit: www.reddit.com
Essential Drawing Tools
Every artist needs the right tools. These tools help bring ideas to life. Essential drawing tools form the backbone of any artist’s toolkit. They include pencils, paper, erasers, and blending tools. Each tool has its unique features and benefits. Understanding these tools can improve your drawings significantly.
Pencils And Charcoal
Pencils come in various grades. The grades range from hard (H) to soft (B). Hard pencils create light, thin lines. Soft pencils produce dark, thick lines. Charcoal is another great tool. It offers a rich, deep black color. Charcoal is perfect for bold and expressive drawings. Many artists use both pencils and charcoal in their work.
Paper Types
Choosing the right paper is crucial. Different papers have different textures. Smooth paper is good for detailed work. Rough paper adds texture to drawings. Some papers are thick. Others are thin. Thicker paper can handle more layers and erasing. Always choose paper that suits your drawing style.
Erasers And Blending Tools
Erasers are not just for mistakes. They create highlights and refine details. There are different types of erasers. Kneaded erasers are soft and moldable. They lift graphite and charcoal without damaging the paper. Blending tools also play a key role. Tools like blending stumps and tortillons help create smooth transitions. They blend and soften lines. They can make a drawing look more realistic.

Credit: www.reddit.com
Basic Drawing Techniques
Drawing is a beautiful way to express creativity. It allows you to capture the world on paper. Learning basic drawing techniques can make your art more appealing. Here are some essential techniques to get started.
Line Drawing
Line drawing is the foundation of all drawing techniques. It involves creating lines to form shapes and figures. Start with simple lines like straight and curved. Practice drawing different types of lines. Try varying the pressure on your pencil. This will give your lines different thicknesses. Use light lines for sketches. Use darker lines for final outlines.
Shading Basics
Shading adds depth and dimension to your drawings. It makes your drawings look more realistic. Start by choosing a light source. This will determine where the shadows fall. Use your pencil to create light and dark areas. Apply light pressure for lighter shades. Apply more pressure for darker shades. Blend the shades smoothly for a natural look.
Cross-hatching
Cross-hatching is a technique used for shading. It involves drawing intersecting lines. These lines create a texture and depth. Start with a set of parallel lines. Draw another set of lines crossing the first set. The closer the lines, the darker the area. Experiment with different angles and spacing. This will give your drawing a unique texture.
Understanding Perspective
Understanding perspective is crucial in creating realistic drawings. Perspective gives depth and dimension to your art. It transforms flat images into three-dimensional masterpieces. Let’s explore different types of perspective.
One-point Perspective
One-point perspective is the simplest form. It uses a single vanishing point on the horizon line. All lines lead to this point. This technique is perfect for drawing roads, railways, or hallways. It creates an illusion of depth. Start by drawing a horizon line. Then place the vanishing point in the center. Draw lines from the edges to this point. This will guide your drawing.
Two-point Perspective
Two-point perspective uses two vanishing points. Place them on the horizon line. This method adds more depth. It is great for drawing buildings and cityscapes. Begin by drawing a horizon line. Place two vanishing points at each end. Draw lines from the object’s edges to both points. This creates a more dynamic view. It shows multiple sides of an object.
Three-point Perspective
Three-point perspective is complex. It uses three vanishing points. Two on the horizon line and one either above or below. This technique is ideal for tall structures. It provides a bird’s-eye or worm’s-eye view. Start by drawing a horizon line. Place two vanishing points on it. Add a third point above or below. Draw lines from the object’s edges to all three points. This creates a dramatic effect. It shows extreme angles and depth.
Mastering Proportions
Mastering proportions is essential for creating realistic drawings. Proper proportions make drawings look accurate and professional. This skill applies to drawing humans, animals, and objects. Understanding and practicing proportions will improve your overall drawing ability. Let’s explore different aspects of mastering proportions.
Human Anatomy
Drawing human figures requires knowledge of anatomy. Start with basic shapes and lines. Study the human body structure. Pay attention to the head-to-body ratio. The average adult body is about 7.5 heads tall. Practice drawing different body poses. Focus on the size and placement of limbs. Use reference images to improve accuracy. Regular practice will help you understand human anatomy better.
Animal Proportions
Animals come in various shapes and sizes. Study the skeletal structure of different animals. Notice the differences in limb lengths and body proportions. For example, a cat has a different body structure than a horse. Use basic shapes to outline the animal’s body. Pay attention to the head, body, and limb ratios. Practice drawing various animals to understand their unique proportions.
Objects And Still Life
Drawing objects and still life also requires an understanding of proportions. Start by observing the object’s shape and size. Use simple shapes to outline the object. Measure the height and width to keep proportions accurate. Pay attention to the relationship between different parts of the object. Practice drawing everyday items to improve your skills. Use a grid or guidelines to help maintain proportions.
Texture And Detail
Drawing is not just about shapes and lines. Texture and detail bring your artwork to life. They make your drawing look real. This section explores how to create texture and add detail to your drawings. Learn the techniques that make your art stand out.
Creating Texture
Texture gives a drawing depth. It makes surfaces look rough, smooth, or soft. Here are some ways to add texture:
- Hatching: Use parallel lines. The closer they are, the darker the area.
- Cross-hatching: Layer two sets of parallel lines. This creates a denser texture.
- Stippling: Use dots. More dots make an area look darker.
- Scribbling: Random lines create a chaotic texture. Use for hair or fur.
Detailing Techniques
Details make a drawing more interesting. Here are some techniques:
- Fine Lines: Use a sharp pencil for tiny lines. Good for wrinkles or hair.
- Gradual Shading: Blend light and dark areas smoothly. Use for skin or skies.
- Highlights: Leave some areas white. This makes them look shiny or bright.
Using References
References help you understand real textures and details. They improve accuracy in your drawing. Here are ways to use references:
- Photos: Use images to see textures and details. Focus on small sections.
- Objects: Study real items. Feel the textures and observe details.
- Other Artworks: Look at art from skilled artists. Learn how they create textures and details.
Table of common textures and how to draw them:
| Texture | Technique |
|---|---|
| Wood | Long, wavy lines with occasional knots |
| Metal | Smooth shading with sharp highlights |
| Fabric | Soft, curved lines with folds |
Light And Shadow
Drawing with light and shadow brings depth to your artwork. It’s a fundamental skill that creates realism. Mastering this skill can elevate your drawings.
Understanding light sources, shadow mapping, and highlights is crucial. Let’s explore these aspects in detail.
Identifying Light Sources
Light sources determine where shadows fall in your drawing. Start by finding the main light source. It can be natural light or artificial light. Observe how it interacts with objects. Notice the direction and intensity of the light. This helps in creating accurate shadows.
Multiple light sources add complexity. Each light source casts its own shadow. Analyze each source separately. This helps in achieving a realistic effect.
Shadow Mapping
Shadow mapping involves placing shadows correctly. Begin by drawing the outline of your object. Identify where the light hits the object. Draw the darkest shadows opposite to the light source. Use softer lines for lighter shadows.
Shadows have different tones. Use a range of shading techniques. Cross-hatching and stippling can add texture. Keep practicing to improve your shadow mapping skills.
Highlights And Reflections
Highlights are the brightest spots on an object. They are directly hit by the light. Use a white pencil or eraser to add highlights. This makes the object look shiny.
Reflections show on smooth surfaces. They mirror the light source. Lightly sketch the reflection. Add details to make it realistic. Reflections add dimension to your drawing.
Understanding light and shadow is essential in drawing. Practice regularly to see improvement. Your drawings will become more lifelike.
Color Techniques
Understanding color techniques can enhance your drawings significantly. Mastering these techniques brings life and depth to your art. This section will guide you through essential color techniques. We will explore color theory, blending, and using colored pencils.
Color Theory Basics
Color theory is the foundation of all color techniques. It involves understanding the color wheel. The primary colors are red, blue, and yellow. Mixing these creates secondary colors like green, orange, and purple. Tertiary colors come from mixing primary and secondary colors. Knowing this helps in choosing color schemes. Complementary colors are opposite on the color wheel. They create contrast. Analogous colors are next to each other. They provide harmony.
Blending Colors
Blending colors makes your drawings look smooth and realistic. Start with light strokes. Gradually build up the color. Use a blending tool like a stump or tortillon. Circular motions help in achieving a seamless blend. You can also use your fingers for a softer effect. Layering is another technique. Apply one color over another. Blend them to create depth and texture.
Using Colored Pencils
Colored pencils are versatile and easy to use. They are great for adding detail. Start with a light sketch. Use soft, even strokes. Build up layers for richer colors. Try different pressures for light and dark areas. Blending pencils can smooth out colors. Experiment with various brands. Each brand has unique qualities. Keep your pencils sharp. This helps in achieving fine details.
Developing Your Style
Finding your unique style in drawing can be a journey. This process involves exploring different inspirations, trying out various techniques, and being consistent with your practice. Developing your style helps you stand out and express yourself better through your art.
Finding Inspiration
Inspiration can come from many places. Look around you. Observe nature, people, and everyday objects. Visit art galleries, both physical and online. Study the works of famous artists. Notice the details and techniques they use. Keep an inspiration journal. Collect images, quotes, and sketches that resonate with you. This collection can spark new ideas and keep you motivated.
Experimenting With Techniques
Experimentation is key to developing your style. Try different mediums like pencils, inks, and digital tools. Play with various drawing techniques such as hatching, stippling, or blending. Take a look at the table below for some techniques to try:
| Technique | Description |
|---|---|
| Hatching | Using parallel lines to create shading. |
| Stippling | Creating texture with small dots. |
| Blending | Smudging lines to create smooth transitions. |
By trying different techniques, you can discover what feels most natural to you. This will help you develop a unique style that reflects your personality.
Consistency In Art
Consistency is crucial in developing your style. Draw every day, even if it’s just a quick sketch. Set aside a specific time for drawing. This practice builds your skills and helps you refine your style. Consider setting goals. For example:
- Draw for 30 minutes daily
- Complete one full drawing each week
- Try a new technique every month
Tracking your progress can also be helpful. Keep a sketchbook and review it regularly. See how your style evolves over time. Consistency will lead to improvement and a more defined artistic style.
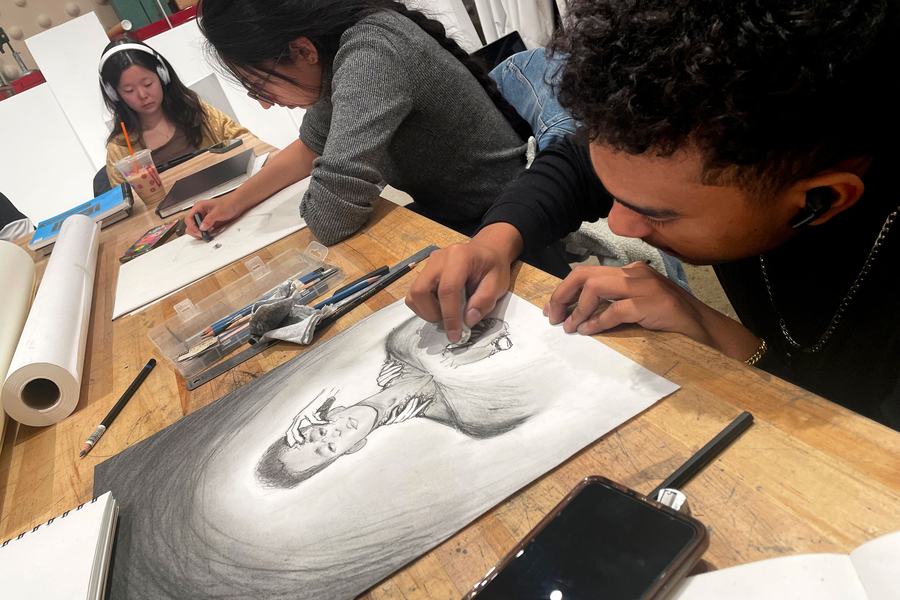
Credit: news.mit.edu
Frequently Asked Questions
What Are The Basic Tools For Drawing?
The basic tools include pencils, erasers, paper, and sharpeners. You can also use sketchbooks and rulers.
How Can I Improve My Drawing Skills?
Practice regularly and study different techniques. Use reference images and experiment with various styles and mediums.
What Are Common Drawing Techniques?
Common techniques include shading, hatching, cross-hatching, and stippling. Each technique adds depth and texture to drawings.
Is It Necessary To Take Drawing Classes?
Classes can provide structured learning and feedback. However, self-study and practice can also lead to improvement.
Conclusion
Drawing is a wonderful way to express creativity. It helps you relax and think. Practicing regularly improves your skills. Anyone can enjoy drawing, regardless of age. Share your art with friends and family. They will appreciate your work. Keep your tools ready and start drawing today.
The more you draw, the better you get. Enjoy the process. Happy drawing!